Accessing the RE
To access the RE you will need to install an AWS client, set up two-factor authentication with Okta and login using the credentials sent by Genomics England.
This guide takes you through getting access to the RE for the first time, including:
- Access AWS
- Adding the RE WorkSpace to AWS
- Logging in
- Setting up two-factor authentication
- Logging out
If you have any issues with access, please take a look at our FAQs.
Access AWS
Amazon WorkSpaces are virtual machines you can access on the web. To use them, you can either install a client, a free software application which can be downloaded online, or access the workspace via a web-browser.
To use an AWS client, choose the appropriate version for your operating system, click download and follow the prompts to install. If you prefer to work in a web browser, just select Web Access.
Add the RE WorkSpace to AWS
To add the workspace, you will need an access code in the form wslhr+######. This will have been sent to you by email when you registered.
You will need to either launch your AWS client.
Or start from the web browser.
If this is the first time you have used AWS and you don't have any other workspaces set up, you will see a dialogue box where you can input the access code you have been sent:
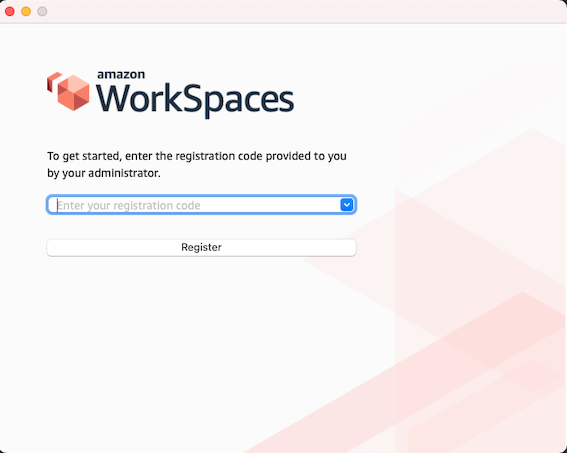
Then click Continue.
If you already have your AWS client installed with other workspaces you access, you will need to add the RE as a new workspace.
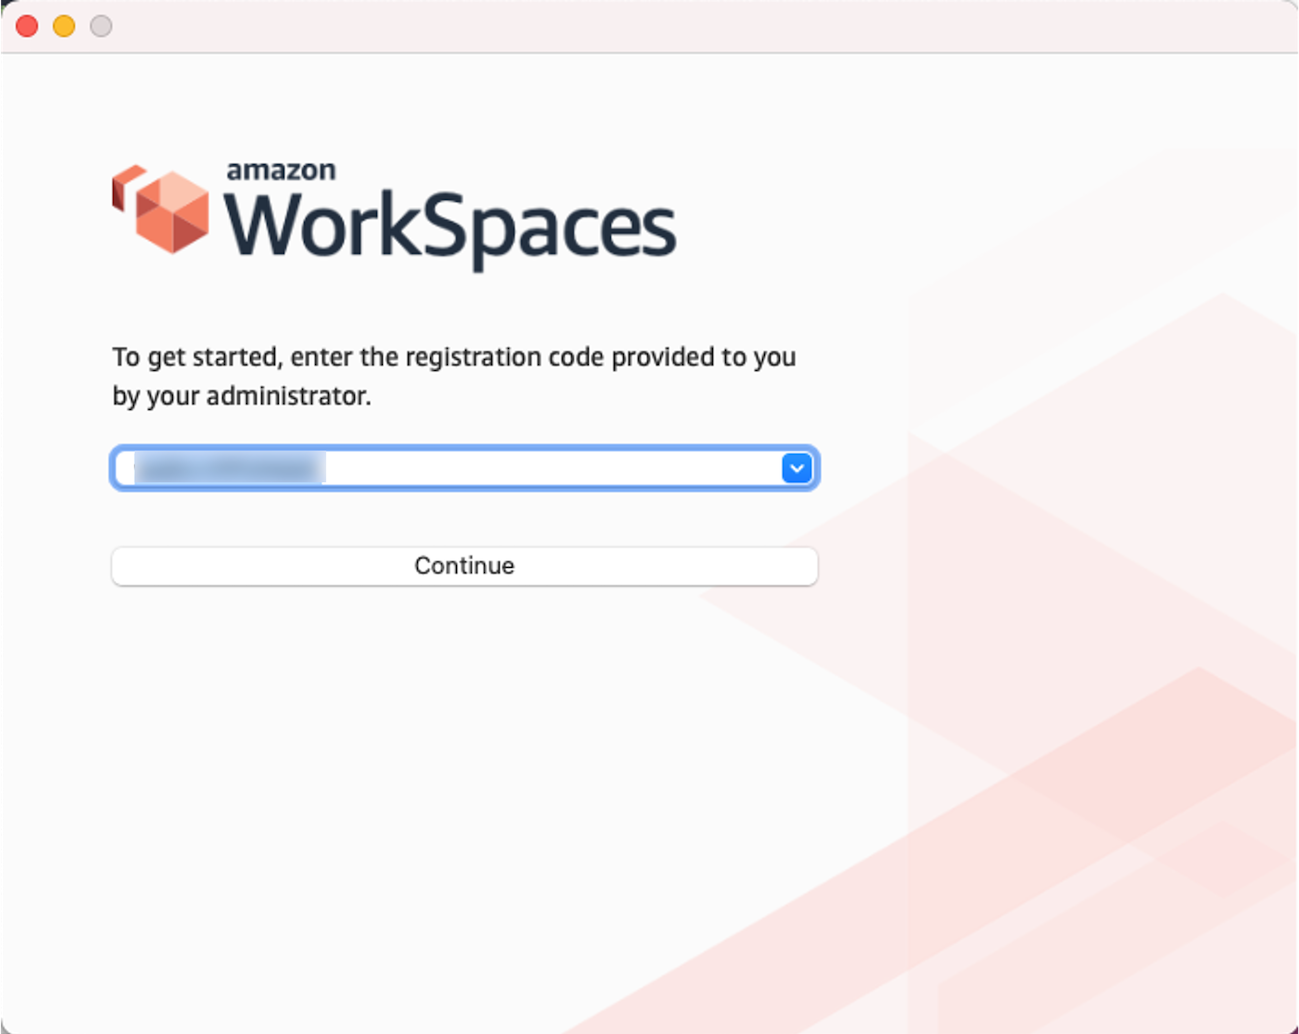
- When you launch your AWS client, you will reach the login screen for your other workspace. Click on Change Registration Code.
-
Here you will see a drop-down where you can select from existing workspaces. This is also a text box where you can overwrite the code with the access code you have been sent.
Then click Continue.
-
Use Change Registration Code when you open AWS to select the correct workspace.
Give your workspaces nicknames
If you have multiple workspaces, you may find it easier to give your workspaces nicknames.
-
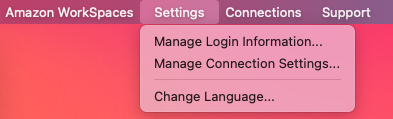
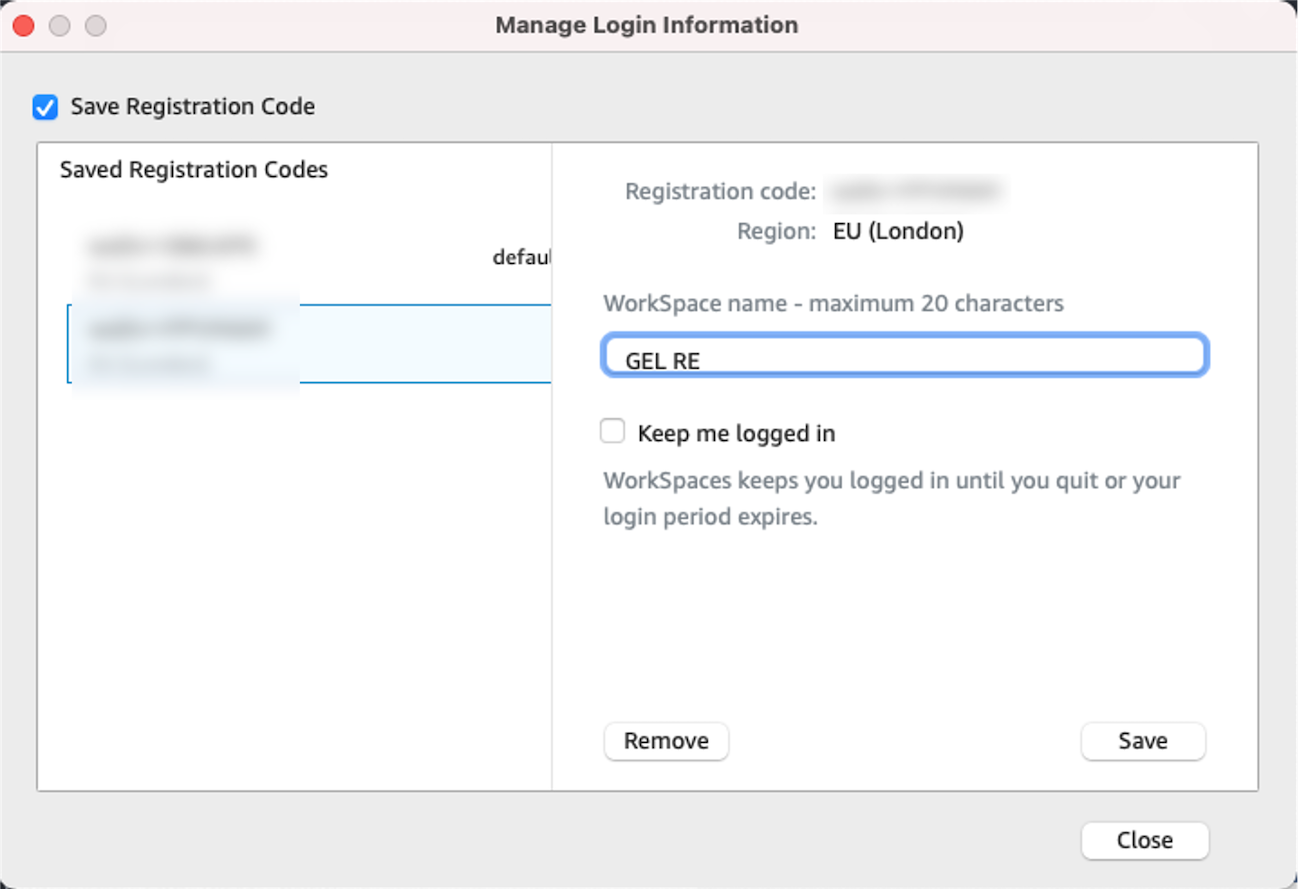
Go into Settings then Manage Login Information.
-
Here you can add nicknames, making it easier to choose your workspace when you login in future.
If this is the first time you have used AWS and you don't have any other workspaces set up, you will see a dialogue box where you can input the access code you have been sent:
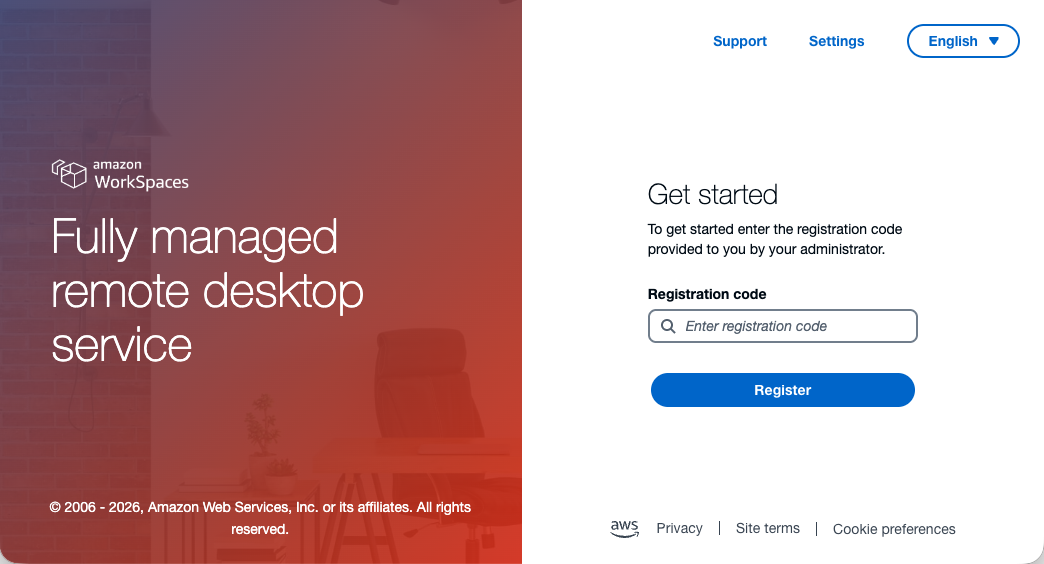
Then click Continue.
If you already have your AWS client installed with other workspaces you access, you will need to add the RE as a new workspace.
-
When you launch your AWS client, you will reach the login screen for your other workspace. Click on Change Registration Code.
-
Here you will see a drop-down where you can select from existing workspaces. This is also a text box where you can overwrite the code with the access code you have been sent.
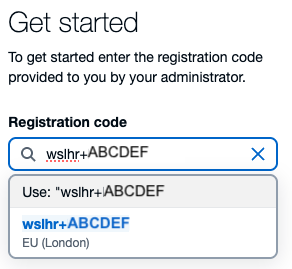
Then click Continue.
-
Use Change Registration Code when you open AWS to select the correct workspace.
Give your workspaces nicknames
If you have multiple workspaces, you may find it easier to give your workspaces nicknames.
-
Go into Settings

-
Here you can add nicknames, making it easier to choose your workspace when you login in future.
Login to the RE
Login to the RE requires two-factor authentication (2FA). You should have set this up when you registered for access, to do your IG training and to access the Research Portal.
- From workspaces, click on Continue to sign into WorkSpaces. This will launch Okta authentication on your browser.
- Input your email address, this must be the email address you registered with.
- Input your password.
- Input the code from your 2FA application.
- Click to Open the Amazon Workspaces app.
Logging out
To log out of the RE, click on the power icon at the top right of the screen:
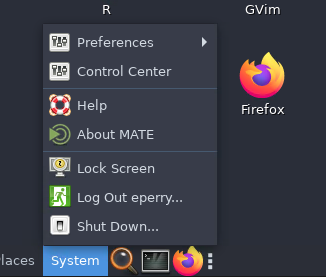
If you select Log Out, you will be able to log back in straight away. However if you select Power Off, there will be a delay of several minutes before you can log back in.