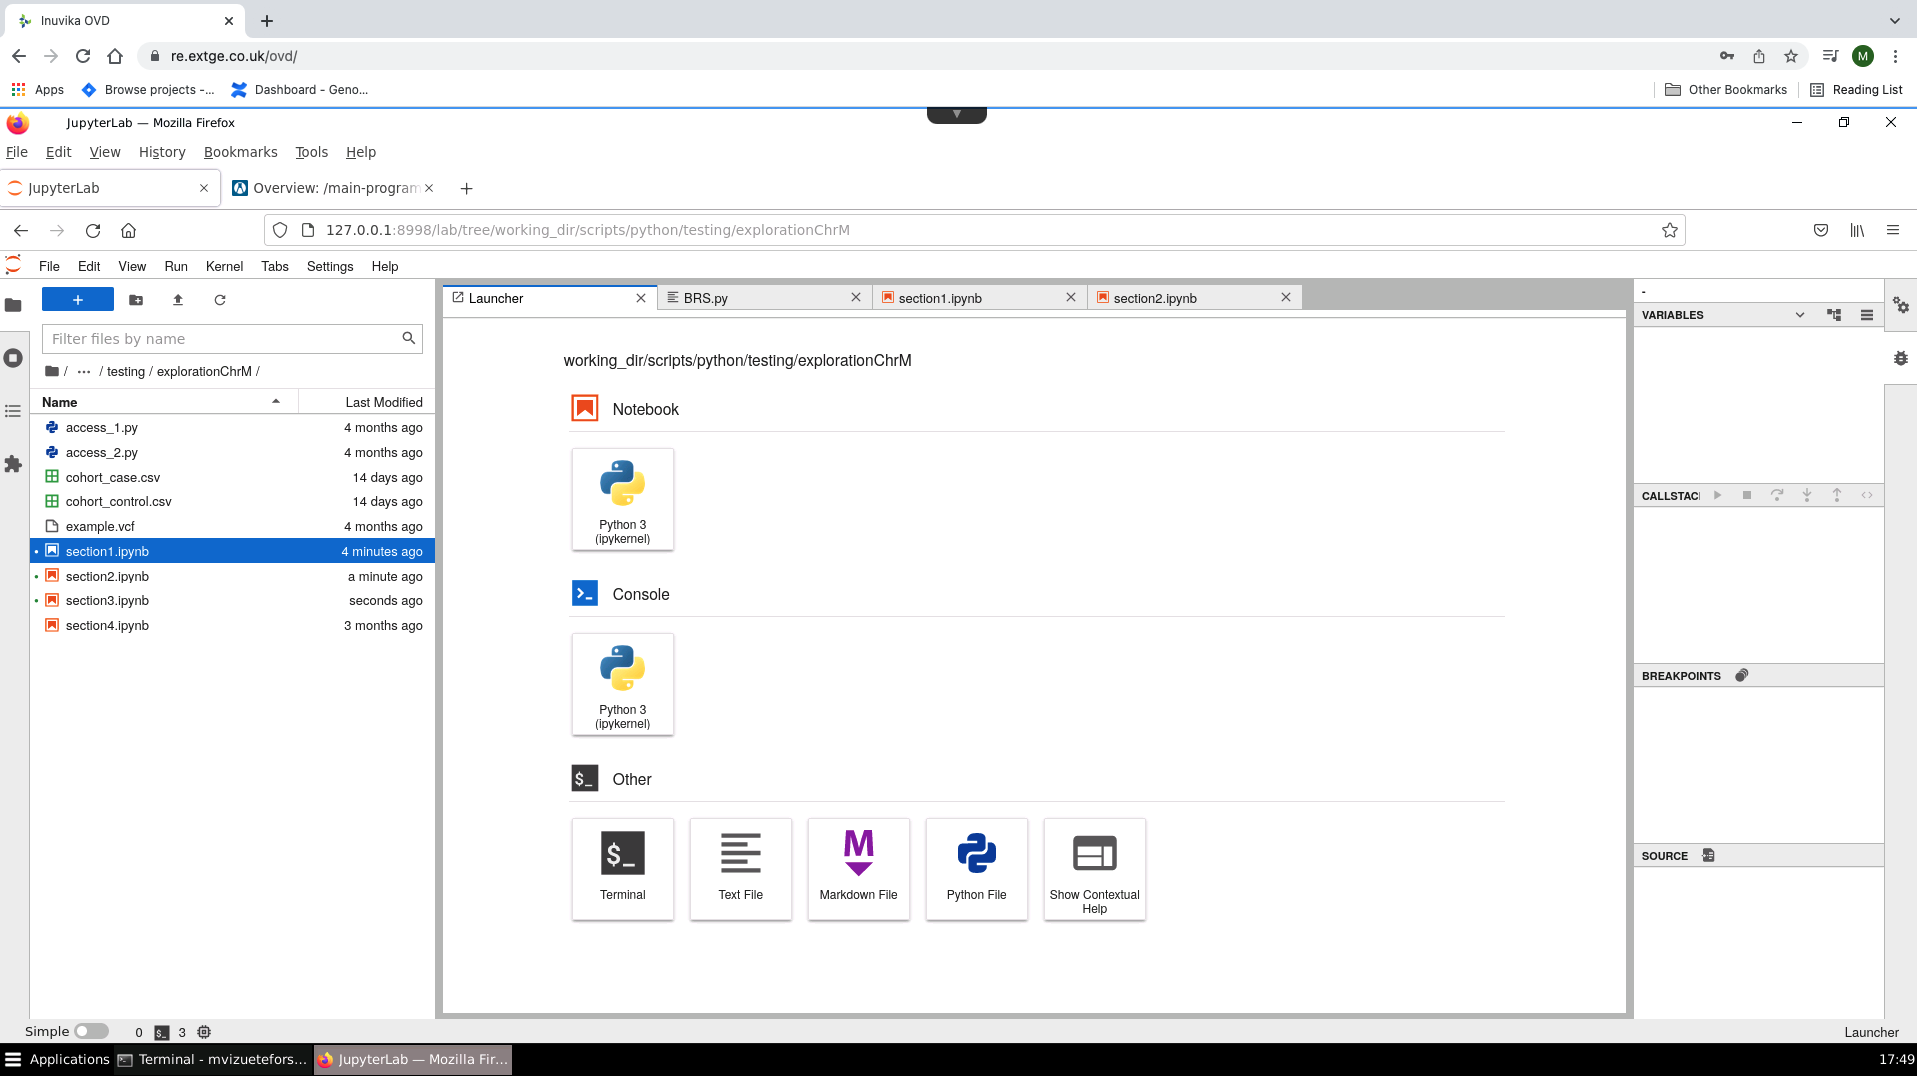
Jupyter Lab on the HPC
Jupyter Lab is available within the HPC. This allows you to perform interactive script development and data analysis within an HPC compute node.
Jupyter Lab has been installed with Genomics England's HPC under the 2022_base Anaconda3 environment. To access this you will need to log into the HPC. For a complete listing of the packages available within the environment activate the environment and generate a listing with the commands:
It is important that Jupyter Lab sessions are launched on a compute node, within an interactive session. If your session is launched from the login node you run the risk of disrupting work being performed by other researchers.
Summary
To connect to a Jupyter Session on the HPC:
- Open Terminal and connect to the HPC
- Navigate to your working folder
- Start interactive BASH session on an HPC compute node and activate the anaconda environment
- Launch Jupyter Lab "headless" session
- Open new terminal in the Research Environment
- Create SSH tunnel
- connect to Jupyter session from within the Research Environment in Firefox
Items that you will need to keep track of during this process
| Name | Example | Notes |
|---|---|---|
| COMPUTE-NODE | lsfworker-c7i8x-0be0e22a.helix.prod.aws.gel.ac |
There are a multiple HPC compute nodes that your session may be sent to. You will need to take note of the node when establishing a connection from the Research Environment to the HPC |
| PROJECT_CODE | re_gecip_cardiovascular for the Cardiovascular GECIP re_df_illumina for Illumina |
Your project code is needed to submit any jobs to the HPC. For a full list of the project codes please review the table on the following page of the user guide |
| REMOTE_PORT | 8998 8675 |
This will be the HPC port the service will be running on, the port number is defined by you. This number should be between 8000 and 9000 |
| HOST_PORT | 8998 8675 |
This will be the Research Environment port that you will be using to connect to the running HPC service on FireFox:https://localhost:REMOTE_PORT/lab?token=TOKEN or https://127.0.01:REMOTE_PORT/lab?token=TOKENThis number should be between 8000 and 9000 While the HOST_PORT and REMOTE_PORT can be set to different numbers we generally recommend you use the same number in order to simplify the access |
| TOKEN | http://COMPUTE-NODE:HOST_PORT/lab?token=TOKEN | The TOKEN will be the authentication key needed to establish the connection to the Jupyter Lab session and is included in the URL generated by the Jupyter Lab server |
| CONNECTION_URL | http://127.0.0.1:HOST_PORT/lab?token=TOKENor http://localhost:HOST_PORT/lab?token=TOKEN |
This will be the URL that you will need to enter into FireFox to connect to your session. The two URLs are equivalent, you will be able to simply copy the http://127.0.0.1:HOST_PORT/lab?token=TOKEN path from the HPC terminal output or you can simply copy the token, connect to localhost:HOST_PORT and enter the TOKEN in the password request box. |
Creating a Jupyter Lab session
First open a terminal and connect to the HPC. Navigate to your working folder.
Create a job on the inter queue. Make sure you replace <your_project_code with the correct code.
When this is ready you will see:
Job <job_id> is submitted to queue <inter>.
<<Waiting for dispatch ...>>
<<Starting on lsfworker-<COMPUTE_NODE>.helix.prod.aws.gel.ac>>
Take note of the COMPUTE_NODE. You will need this later.
Now activate the anaconda environment and launch your Jupyter Lab session:
source /resources/conda/miniconda3/bin/activate
conda activate 2022_base
jupyter lab --no-browser --ip="*" --port=REMOTE_PORT
By default Jupyter Lab will run on port 8888, which is the same default port used by a number of other tools such as Jupyter Notebooks and RStudio. You should choose your own port number between 8000 and 9000 to ensure access to other tools.
Once the Jupyter Lab session has been launched you will see:
Connecting to your HPC session within the Research Environment
You will need to create a tunnel session to the compute node. Open a new terminal, keeping the other one open.
Establish the SSH tunnel:
ssh -4 -L <PORT>:hpc-doublehelix-worker-int-<COMPUTE_NODE>.helix.prod.aws.gel.ac:<PORT> <username>@doublehelix.helix.prod.aws.gel.ac
In the above command <username>@doublehelix.helix.prod.aws.gel.ac will be your usual HPC login.
And enter your password
Now launch Firefox. Go back to the first terminal you had open, copy the URL and paste it into Firefox. The URL will look like http://127.0.0.1:REMOTE_PORT/lab?token=TOKEN

Now you can work with Jupyter.